


HOW TO INSTALL A NEW TOILET
Tools needed:
crescent wrench
Supplies needed:
New Toilet
Wax Ring Seal
Plumber's Putty
BACKGROUND
My Uncle Joe was somewhat overweight. That's like calling an aircraft carrier a boat.
We had to replace the toilet in one of the bathrooms of the house we lived in thanks to him. Here's how my Uncle Joe entered the picture.
The house was built by my Uncle Bill in 1946. He was a prominent home builder in Dallas. He and my Aunt bought some land in town and decided to build their post war dream house. He and my Aunt built the garage first. It was huge. It was a two and a half car garage that was long enough to get four cars into.
They had a bathroom with a shower and a kitchen in the garage. All of the conveniences of home were there. The bathroom didn't even have a door. I guess the building code and a certificate of occupancy from the city were no big deal then. They lived there while they built the rest of the house.
None of the walls or the floor in the garage were finished, or the bathroom for that matter They had a real bathroom in the house. The shower stall in the garage was made from galvanized sheet metal, and it was big enough for two people to use. Not that my Aunt and Uncle ever did anything like that. Nothing fancy. It was a lot like camping out in the city.
The family room was built directly off of the garage. When I was a kid, all of the family would get together at the house on Sundays. My Aunt was the matriarch of the family, and everyone gravitated there for Sunday dinners. The men would be in the family room, playing dominoes, smoking cigars, and watching the football game of the day on the rabbit eared T.V.
The men always preferred going out into the garage and using the unfinished bathroom in the garage. It was closer, they could take their cigar with them too. It was a real guy thing.
My Aunt, Uncle, and my cousin eventually all passed away. We inherited the home and moved into it.
My Uncle Joe was one of the old timers who really liked the garage bathroom. He gave up cigars, but couldn't give up the garage bathroom. He loved that bathroom like a cat loved his favorite cushion. We had put saloon style swinging doors on it after moving in, so there was an appearance of privacy. My wife insisted on that much.
He came to visit with my aunt and had to make a trip to the garage facilities. He could have gone to the bathroom inside, but old habits are hard to break.
He wasn't gone long when we heard the sound of a loud crash and the un-mistakable sound of breaking ceramic. Knowing that he wasn't cooking in the kitchen out there, we knew that there had been a toilet tragedy of some kind.
Sure enough, when we arrived, uncle Ed was still spread eagled on the floor, awash in water from the broken toilet and spray from the broken water line and broken tank. He had turned while trying to get off the toilet, lost his balance, and tipped over the toilet and himself onto the floor.
Somehow, he tilted the toilet, or the toilet seat or toilet bowl had stuck to him. As he turned when he tried to get up, the whole toilet came along with him along with the lid and the five gallon tank.
The whole toilet, bowl, tank, and lid fell over, and broke into a million pieces.
The bolts holding the toilet to the floor at the floor flange had rusted out over the years, and the toilet's coming loose was just lying in wait for some unwary bathroom occupant. It was time for a new toilet after 50 years of faithful service. Except for his bruised pride, my Uncle was not seriously injured.
HOW TO INSTALL A NEW TOILET
The demise of your toilet may not be so spectacular. It may be cracked, have a broken tank top, or die of old age from clogged internal water ducts from water mineral deposits.
Get a toilet that matches the rough in of the old toilet. That's the distance from the wall behind the toilet to the center of the floor flange. The standard rough ins are 12 inches.
1. Turn off the water supply first before you do anything else. If the supply line has a shut off valve, you can turn it off there. Most toilets have a shut off. Be sure to install a shutoff on the supply line when you replace the toilet. It will make life easier in the future. If it doesn't have the shut off at the toilet, then turn off the house supply.
2. Flush the toilet if you can. Drain or bail out the water from the holding tank. Bail out as much water as you can from the bowl. You can try a sponge and a can. Uncouple the water supply line leading from the wall or the floor.
3. Undo the bolts that hold the tank to he bowl. If they are rusted up beyond all recognition, (RUBAR for you military personnel) then saw them off with a hack saw or a hack saw blade it the area if too tight to use the saw. Remove any screws holding the tank to the wall. Be sure to keep the tank supported when you take it off.
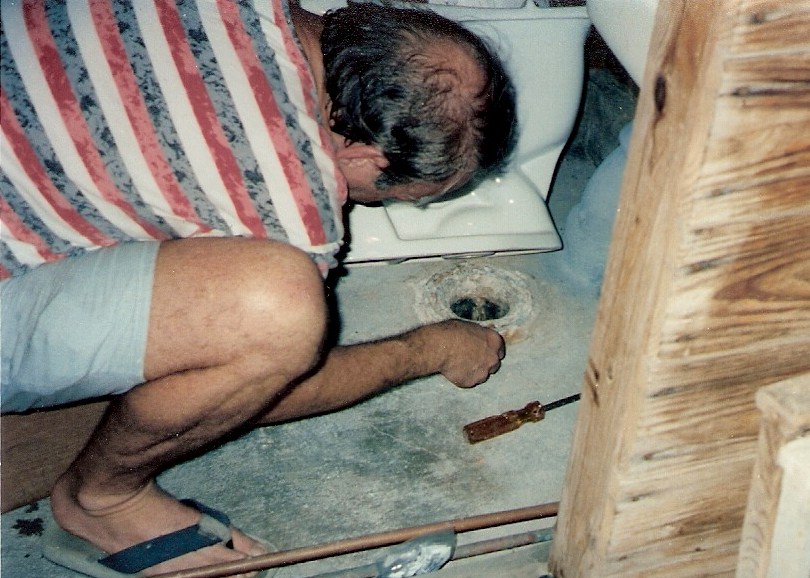
4. Next, you pry off the caps that cover the bolts that hold the bowl to the floor, and undo the bolts. Rock the bowl from side to side, but in a more gentle way than Uncle Ed did. Then lift it off the floor while twisting it from side to side.
5. The new toilet bowl should be put upside down on thick newspaper or cardboard to prevent it being scratched up. If for some reason, you are just taking the old toilet off the floor for maintenance, such as replacing a leaking old wax seal, you have to clean off all of the old wax gasket seal material from around the floor flange of the toilet bowl. On a brand new toilet bowl, put a toilet bowl wax gasket around the floor flange of it. The flat surface goes against the toilet. Make sure it sticks, but do not deform it.
6. You then put plumber's putty in about a one inch ring all around the bowl's bottom rim. Put new floor flange bolts in the floor flange slots.
7. Carefully turn the toilet bowl over and gently, but accurately, lower it over floor flange hole. Accuracy in going into the center of the hole is the key. If you miss, you will deform and ruin the wax gasket seal. To be on the safe side, buy an extra one. They're only a couple of dollars, but it will save you a frustrating trip back to the store to buy another one.
8. Press down the bowl and twist it gently from side to side. Do not over twist it.This will compress the wax seal, and make the attachment to the floor waterproof. You don't want to go through the whole procedure only to have water seep out from around the toilet and rot out your wood floor. You will know you have done it right because the seal will feel good to you as you twist the toilet gently. Don't let the toilet raise up off of the floor once you get it down, or you will ruin the seal. But remember, you have an extra one if you happen to mess up.
9. You then attach the tank to he toilet bowl. Use the gasket and bolts that come with it. Don't forget it's gaskets.
10. Line up the tank with the wall by twisting it gently if you need to. You are now ready to re-attach the floor flange bolts. Connect the water supply line. Turn on the water. Flush the toilet and see if there are any leaks.
You can now be confident when your own Uncle Joe visits you.
No comments:
Post a Comment